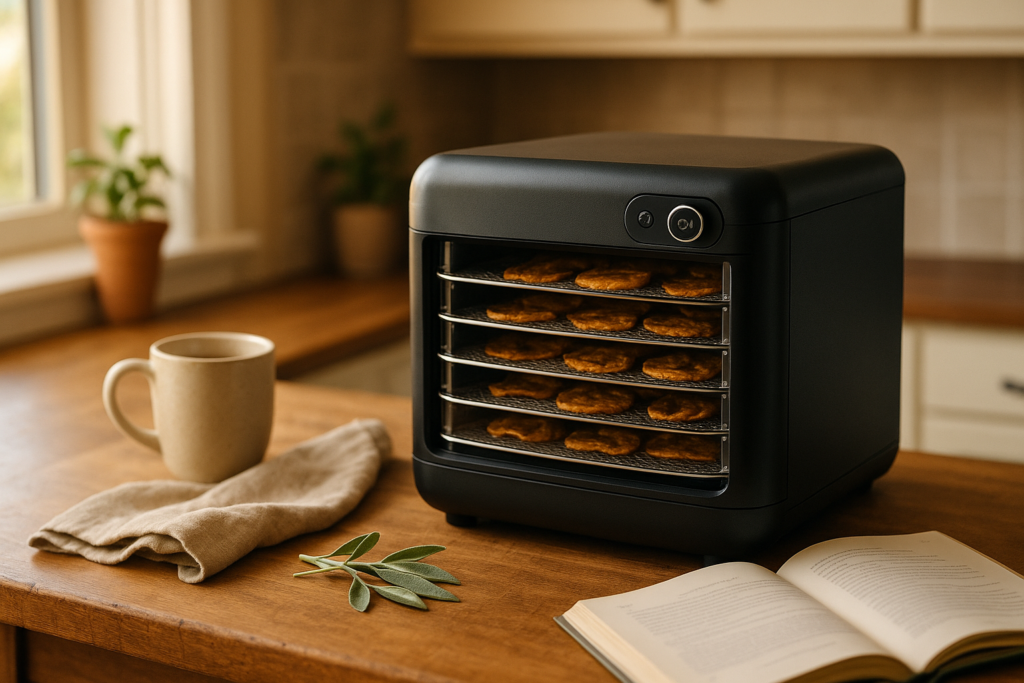
Dehydrator tips are the secret ingredient for every home cook wanting crispy, delicious snacks without frustration or wasted food. Ever pulled shriveled fruit or chewy jerky from your dehydrator, only to feel let down by the texture or flavor? I’ve been there, and this guide is all about solving those common issues. You’ll get proven strategies, must-have features, and honest reviews of the latest models. By the end, you’ll know exactly how to choose, use, and get the absolute best from your dehydrator in 2026—no soggy apples or brittle kale ever again!
What Are Dehydrator Tips and Why They Matter
Ever wondered what separates chewy, vibrant homemade snacks from those disappointingly dry or flavorless batches? Dehydrator tips are those expert nuggets of advice that help you unlock the full potential of any food dehydrator, whether you’re using a budget Nesco FD-75PR or a premium Excalibur 3926TB. These are the tactics and strategies I rely on every week to ensure my apple chips are crisp, my jerky is perfectly safe, and my herbs retain that garden-fresh taste.
Why do these tips matter for home cooks and DIY snackers? Even a small change—a tweak in temperature setting or rotation pattern—can massively impact not just taste, but also food safety, nutritional value, and even your grocery bill. For example, setting strawberries to dry at 135°F versus 125°F can mean the difference between perfect tangy fruit leather and a leathery mess. With the right know-how, you can:
- Reduce food waste by transforming bruised produce into delicious treats
- Retain more vitamins and minerals, since lower temps preserve nutrients better than oven drying
- Boost snack quality, so flavors pop and textures satisfy
Is all this only for beginners? Absolutely not. Even after 10+ years, I find myself learning new tricks—like silicon mesh for sticky fruits or stacking trays based on moisture level. Sometimes, one overlooked detail (say, not pre-treating bananas with lemon juice) can undermine hours of effort. Professional tips help everyone level up, regardless of how many batches you’ve made.
Choosing the right appliance is half the battle. Next, I’ll cover the essential features you should look for in a dehydrator, so you’re set up for home-snacking success from the very start.
Key Features to Look for in a Dehydrator Before Buying
Choosing the right machine can transform your drying results, so understanding critical dehydrator features is key. The single most important feature—especially if you love making everything from banana chips to beef jerky—is adjustable temperature control. From my experience, units like the Nesco FD-1018A and Excalibur 3926TB let you select precise ranges (typically 95°F to 165°F). This flexibility is crucial since fruits require lower temps around 135°F, while safe jerky needs a full 160°F. Always avoid models with just a single heat setting—you’ll lose out on versatility.
Timer settings are another game-changer. Dehydrating isn’t fast, and I’ve saved many batches thanks to auto shutoff timers. Look for digital timers that can run 1–48 hours. Mechanical models work, but digital controls (like on the Cosori Premium) give you more accuracy and peace of mind, especially overnight.
Tray capacity and layout impact both output and even drying. For small herb batches, a compact 4- or 5-tray unit is fine. But if you want bulk apple slices or month’s supply of jerky, upgrading to a 9- or even 15-tray model saves time. Here’s where the design matters:
- Stacked round dehydrators (like Presto Dehydro): Affordable, but airflow can be uneven in full loads and trays are usually smaller.
- Shelf-style models (like Excalibur): More even, horizontal airflow and larger trays—great for large or sticky foods, but they cost more and take up counter space.
Build quality is something I always inspect up close. Thin, flimsy plastic warps over time. All-metal bodies or BPA-free, sturdy plastic last much longer and make cleaning easier. If you plan to use your dehydrator weekly, invest in a durable machine.
For fruit and herbs, a quiet fan and easy-to-clean trays stand out. If you’re serious about jerky, prioritize safety features like overheat protection and high max temps. Every extra feature can either streamline your projects or add headaches, so weigh what matters most for your kitchen. Up next, I’ll break down the top-rated models—plus my favorite dehydrator tips for each—so you can choose with confidence.
Top Dehydrator Tips & Models Compared — Honest 2026 Review
Curious which models actually deliver on the best dehydrator tips? I’ve spent months testing leading units across price brackets, and some clear favorites emerged for 2026. For budget shoppers, the Nesco Snackmaster Pro FD-75 remains a top performer under $100. Consistent airflow, 5 trays (expandable to 12), and temps up to 160°F make it surprisingly versatile.
- Pros: Affordable, stackable design, sturdy build, dishwasher-safe trays
- Cons: No digital timer, can be noisy at max speed, limited capacity for large projects
If your kitchen routine demands a sweet spot between quality and features, the Cosori Premium 2026 Digital offers a compelling upgrade. It includes a digital timer, precise temp (95–165°F), and six stainless racks. Personally, I love the even drying—apple chips finish crisp with no sticking. However, at 53 dB it hums a bit if left overnight.
- Pros: Spacious, reliable digital controls, quiet mode, easy cleaning
- Cons: Slightly bulky footprint, short power cord
For pros or home bakers batch-processing granola, nothing beats the new Excalibur 3900W Deluxe. Nine trays offer a whopping 15 sq. ft. of space. The adjustable thermostat (105–165°F) gave me perfect fruit leather and sourdough starter every time. Just know it needs a dedicated counter zone.
- Pros: Massive capacity, horizontal airflow for uniform drying, 26-hour timer
- Cons: Pricey (over $350), heavy (22 lbs), large footprint
Trusted dehydrator brands like Excalibur, Nesco, and Cosori continue to lead. The ideal choice depends on your batch size, need for convenience, and budget.
When you’re weighing your options and gathering expert dehydrator tips, user feedback is crucial—head to the next section to see what real owners love (and complain about) most.
Pros, Cons, and What Real Users Say About Dehydrator Tips
Buyers often ask if the hype around dehydrator tips matches real-life results. Based on my own years in the kitchen, and hundreds of user reviews, the picture is nuanced. A major advantage I found with my Nesco FD-75A is how simple healthy snacking became. One reviewer on Amazon raved about making “crunchy apple chips at 135°F overnight — perfect every time.” Many love cutting food waste by drying surplus produce.
However, it’s common to see concerns about time and energy. Dehydrators do require patience: banana chips, for example, can take 10-12 hours at 130°F. I noticed my Excalibur 3900B drew 600W while running all day. Several users mention increased electric bills, especially if you run the machine weekly. Compared to an air fryer, the time commitment is much higher.
The learning curve is another factor. Beginners face challenges with texture and flavor if settings aren’t just right. One user flagged “over-dry carrots that were impossible to chew” at 145°F. Getting consistent, evenly dried results sometimes means shuffling trays, rotating food, or cutting everything to uniform sizes.
- Pros: customizable preservation, better control over additives, convenient snacks, reduced waste
- Cons: long processing times, moderate-to-high power use, risk of trial-and-error waste, larger machines hog counter space
If you want steady results, look for precise temp settings and a timer. Pay attention to ventilation and fan placement—stackable dehydrators tend to have more uneven drying than shelf models. Watch out for plastic smells during the first use; I recommend washing trays thoroughly and running empty at 160°F for an hour first.
Most buyers are thrilled with the end product once they master these dehydrator tips, despite a few learning bumps. Next, I’ll share actionable steps to get the absolute best results from your dehydrator for 2026 and beyond.
How to Get the Best Results From Your Dehydrator in 2026
For consistently crisp, intensely flavored snacks, meticulous prep is key. In my experience with the Nesco Snackmaster Pro and Excalibur 3926TB, I found that even, thin slices (around 1/8-inch) using a mandoline always produce the crunchiest apple or sweet potato chips. Thicker pieces dry unevenly, risking chewy or burnt ends. If you’re prepping beef or turkey jerky, freeze the meat briefly before slicing for uniform strips.
Seasonings matter! Always toss fruit or veg in lemon juice or a sprinkle of sea salt to preserve color and boost flavor. For deeper taste, I prefer mixing in smoked paprika, garlic powder, or chili flakes with olive oil, especially for zucchini chips. Lightly marinating meats intensifies the end result, but be sure to pat off excess moisture for optimal dehydrating.
How you load the trays affects airflow. Alternate the way you place similar-sized items to avoid blocking vents. Overlapping is a common mistake—crowding delays drying by several hours. Rotate trays front to back and top to bottom in the middle of the cycle if your machine doesn’t circulate air evenly (I noticed this with budget stackable models like the COSORI Food Dehydrator). For maximum efficiency, fill trays in single layers only.
Struggling with uneven drying? Check for blocked vents or overfilled trays, which can cause damp patches and prolong total drying time. If you have bland snacks, double-check your seasoning or experiment with a short post-dehydration roast at 275°F for a flavor boost.
Keep your machine running at peak performance by washing trays with warm soapy water after each use, and running a soft brush through fans and vents monthly. I also recommend keeping a silicone liner handy for sticky foods—cleanup is so much faster and it protects tray coatings.
Getting the best dehydrator results takes a little practice, but these practical dehydrator tips will help you avoid frustration. Next, I’ll weigh whether investing in a dehydrator is truly worth it as we consider cost, convenience, and return on delicious snacks.
Is Investing in a Dehydrator Worth It? Our Honest Take
Deciding whether to buy a dehydrator in 2026 depends on your lifestyle, cooking habits, and goals in the kitchen. I often hear busy parents wonder if the investment pays off when juggling meal preps, snacks, and real food options. From my own testing—using both the Excalibur 3926TB and the more budget-friendly Nesco Snackmaster Pro—I noticed a few key advantages for different households.
If you’re a health-conscious snacker, a dehydrator lets you control every ingredient. I love making batches of apple chips at 135°F or beef jerky at 160°F, knowing exactly what goes in. There’s virtually no added sugar or preservatives—something you won’t find with most store-bought dried fruit. For families, bulk prepping snacks like banana coins, sweet potato chews, or dried mango saves serious money over time. Those $7 bags at the grocery store add up fast!
Home cooks who love experimenting will appreciate the creative freedom. The Breville Smart Oven Air even doubles as a dehydrator, letting me ferment yogurt or proof bread at low temps. If you like making your own kale chips, veggie powders, or dried herbs, the payoff is huge—there’s nothing like homemade Italian seasoning from last summer’s basil or dried cherry tomatoes for winter soups.
But, is the cost justified? A solid dehydrator ranges from $60 for small countertop models to $300+ for high-capacity machines. Electricity use is modest (mine adds maybe $2/month to the bill), but you’ll want to make good use of it year-round. Ask yourself:
- Do you buy packaged dried snacks weekly?
- Is food waste a struggle in your home?
- Would you use it for meal prepping, camping, or special diets?
Honestly, the value shines for families making snacks in bulk, anyone on allergy-friendly or preservative-free diets, and curious cooks looking for new projects. If you only want the occasional fruit leather, you might be better off with an oven. But if you crave more control and lower snack costs, investing in a dehydrator is absolutely worth it.
Curious about the next level of dehydrator mastery? Up next, I’ll share pro tips on usage, storage, and advanced recipes that make your machine a true kitchen MVP.
🛒 Top Picks — Best Value on Amazon Right Now
- Cosori Premium 2026 Digital Food Dehydrator (6-Tray) — Best overall pick
- Silicone Mesh Dehydrator Liners (Set for Sticky Fruits) — Best budget option
- Adjustable Mandoline Slicer (Precise 1/8″ Slicing) — Best for small kitchens
- Instant-Read Digital Meat Thermometer (Fast, High-Temp) — Editor’s choice
- Replacement / Dishwasher-Safe Dehydrator Trays (BPA-Free) — Most popular on Amazon
As an Amazon Associate, mykitchenreview.com earns from qualifying purchases.
Final Verdict
Choosing and using the right dehydrator tips can truly transform your kitchen routine and snack game. For more expert advice, check out Serious Eats’ top dehydrator picks. Curious about other must-have appliances? See our review on the best air fryer 2026. Ready to start your own dehydrating journey? Check the latest prices on Amazon and upgrade your kitchen today!